Create Feeds For Your Blog
Extend the markdown to HTML pipeline to generate feeds for your blog
Introduction
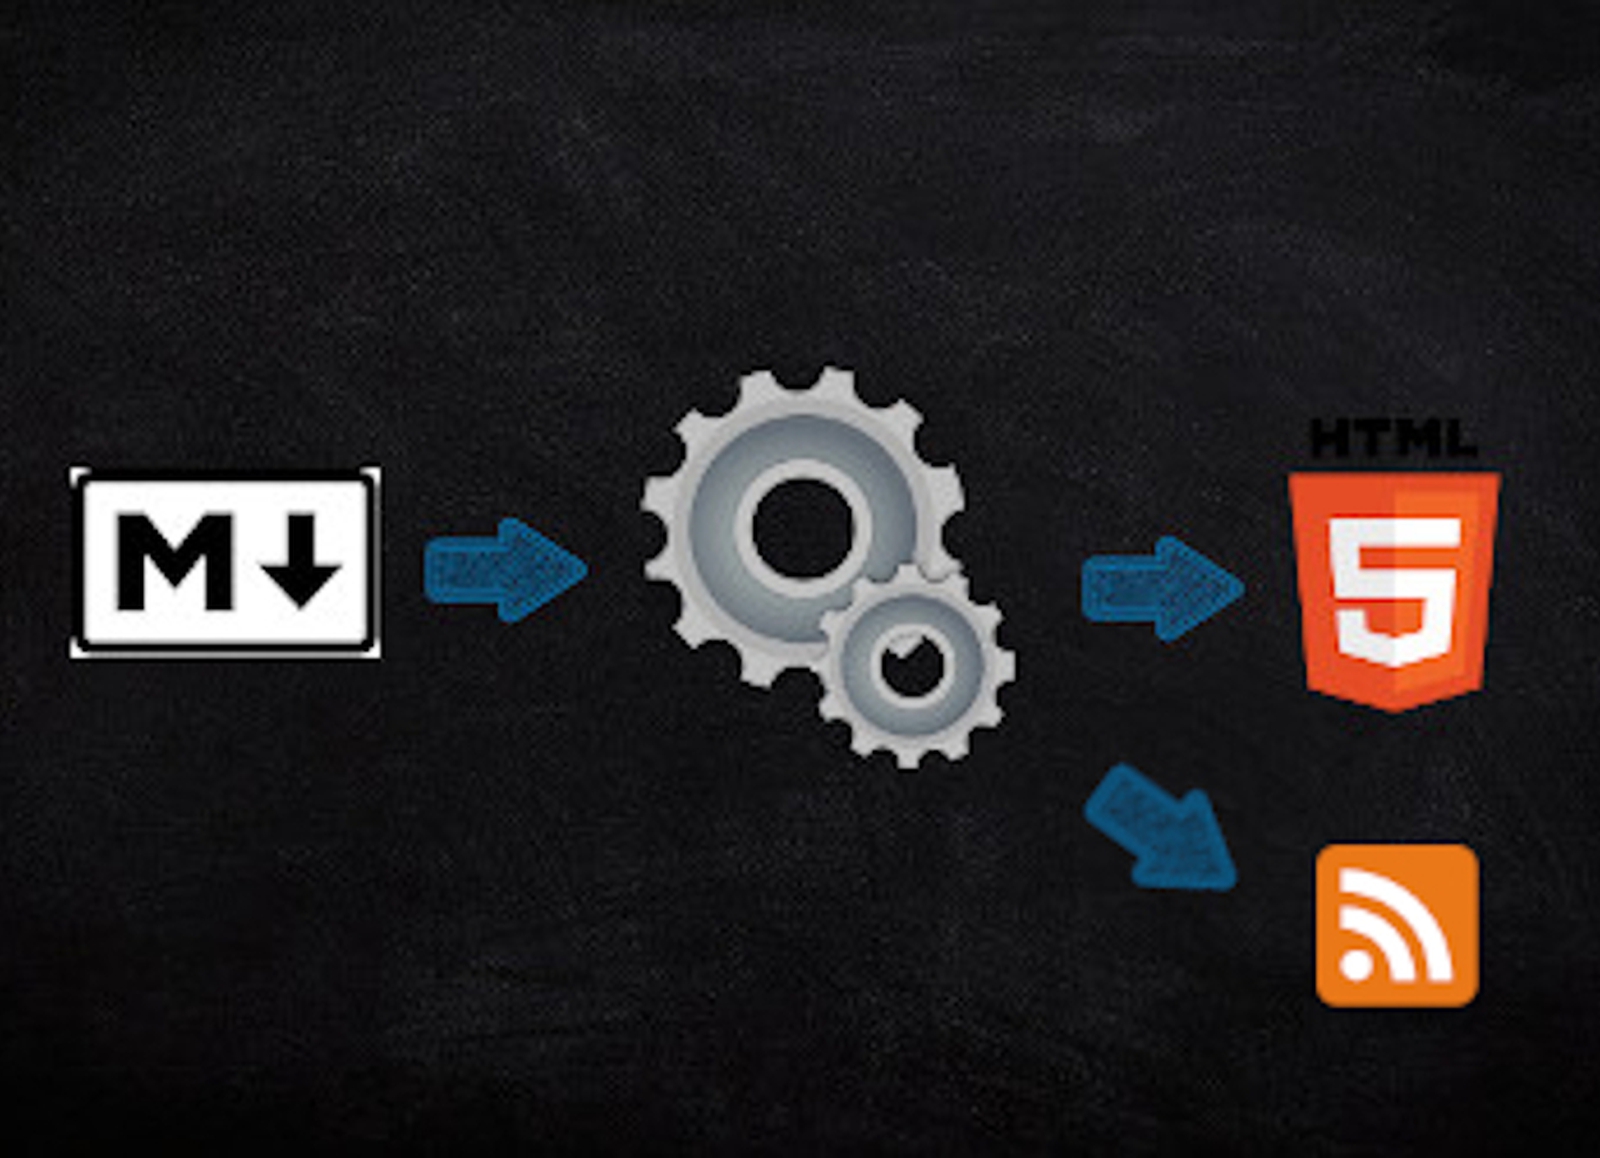
This is part three of the Markdown To HTML series. The article shows you how you can extend the markdown to HTML conversion pipeline we built in part one to generate feeds for your personal blog.
But before we jump in, here is an overview about the series. It consists of three parts:
- Part 1 presents the implementation of the whole generation pipeline (link).
- Part 2 extends the implemented pipeline by a module used to compute the estimated reading time for a given article (link).
- Part 3 (current article) demonstrates you how to use the pipeline to produce your own RSS feeds (link).
The code used in all three parts is available on GitHub.
RSS Feed Structure
Let's start with the feed's structure. In essence, a feed is an XML file following a certain schema. There are different schemas for feeds out there, but one of the more popular ones is the atom feed. It was developed by the IETF atomhub Working Group in 2005 and we are going to use this standard for our feeds, too.
Let's start by creating a new template in the templates/shared directory, which contains the feed's structure.
The file's name is feed.xml and has the following content.
{% raw %}<rss version="2.0" xmlns:atom="http://www.w3.org/2005/Atom" xmlns:dc="http://purl.org/dc/elements/1.1/">
    <channel>
        <title>
            My Blog - {{ rss_title }}
        </title>
        <description>
            {{ rss_description }}
        </description>
        <link>https://florian-dahlitz.de/blog</link>
        <lastBuildDate>{{ date }}</lastBuildDate>
        <pubDate>Mon, 01 Jun 2020 11:48:09 +0100</pubDate>
        <atom:link href="https://florian-dahlitz.de/{{ rss_link }}" rel="self" type="application/rss+xml" />
        {% for item in posts %}
        <item>
            <title>{{ item.title[0] }}</title>
            <description>
                {{ item.subtitle[0] }}
            </description>
            <link>{{ item.link }}</link>
            <pubDate>{{ item.rfc2822_date }}</pubDate>
            <dc:creator>Florian Dahlitz</dc:creator>
            <guid>{{ item.link }}</guid>
        </item>
        {% endfor %}
    </channel>
</rss>{% endraw %}
Each feed has a title, description, and a last build date as well as a link we want to set dynamically.
Everything else can be set by hand and be the same across all of our feeds.
The second part of the template is a for-loop, which iterates over a supplied list of posts creating an item for each article.
As you can see, we need the title, subtitle, publication date, and the link to each post.
Luckily, all of the information we need is already defined in the metadata of each post! We only need to define the feed's title and description as well as to generate the build date. So let's move on and integrate it into our existing pipeline.
Generate Feeds in the Pipeline
First of all, we define two new constants holding the path to the directory which will eventually contain all generated feeds and the path to the feed template.
Consequently, add the following two lines to your convert.py file.
Make sure that the variables are defined after the TEMPLATE_DIR variable as both are referencing it.
FEEDS_DIR = TEMPLATE_DIR / "feeds"
FEED_TEMPLATE_FILE = "shared/feed.xml"
Next, we jump into the generate_entries() function and add the following with-block at the end of the function.
with open(FEEDS_DIR / "rss.xml", "w") as rss_f:
    rss_description = "A collection of (mostly) technology articles"
    rss_title = "Complete Feed"
    rss_f.write(
        env.get_template(str(FEED_TEMPLATE_FILE)).render(
            posts=all_posts,
            date=formatdate(),
            rss_description=rss_description,
            rss_link="rss.xml",
            rss_title=rss_title,
        )
    )
What we are doing here is to open a new file stream in write mode.
In this case, we create a new file in our feeds directory (FEEDS_DIR) called rss.xml.
We define the title and the description of the feed, which we then pass to the environment's render() method together with the posts (all_posts), the build date (formatdate()), and the last part of the link to the feed, which is rss.xml.
Run the following command in your project's root directory to generate the feed.
$ python app/services/convert.py
Generate Multiple Feeds for Different Categories
In the last section, we generated a feed for all of our posts, but what if we want to have a separate feed for Python-related posts only?
In this case, we can make use of the categories defined in the posts' metadata.
Our pipeline is already built to be extensible and generate more than one feed.
However, a few additions need to be made.
Let's start by defining a new empty list alongside the all_posts list.
python_posts = []
Next, we enter the for-loop and at its end, we add the following lines of code.
categories = []
[categories.extend(category.split(", ")) for category in _md.Meta.get("category", list())]
if "Python" in categories:
    python_posts.append(post_dict)
Basically, we take the category value from a post's metadata, convert it into a Python list with each separate category and check whether the string Python is one of them.
If so, we add the post to the python_posts list.
After leaving the for-loop, we need to sort the python_posts list by date in reversed order, too (as we did with all_posts).
python_posts.sort(key=lambda item: item["date"], reverse=True)
Last but not least, we add another with-block, which opens a file stream for a different file (in this case python.xml), and render the template with the Python posts.
with open(FEEDS_DIR / "python.xml", "w") as rss_f:
    rss_title = " - Python"
    rss_description = "A collection of Python-related articles"
    rss_f.write(
        env.get_template(str(FEED_TEMPLATE_FILE)).render(
            posts=python_posts,
            date=formatdate(),
            rss_description=rss_description,
            rss_link="python.xml",
            rss_title=rss_title,
        )
    )
Routing
The last thing we need to do is to make the feeds available for the outside world.
Consequently, we need to make a few minor adjustments in our main.py.
# main.py

from pathlib import Path

from flask import Flask
from flask import render_template
from flask import send_file

FEEDS_DIR = Path(__file__).parent / "templates" / "feeds"
The first thing we do is to add two more import-statements at the beginning.
We import the Path class from Python's pathlib and Flask's send_file() function.
The latter is used to (as the name suggests) send a file to the user visiting a certain route.
Furthermore, we define a FEEDS_DIR variable, which stores the path to the directory containing the generated feeds.
Next, we create a custom route to let the user access our rss.xml file.
You can add more routes for the other feeds you may have generated or parametrise the following route to deliver more than one feed file.
@app.route("/feeds/blog")
def blog_feed():
    return send_file(FEEDS_DIR / "rss.xml")
To deliver the feed, we use the earlier imported send_file() function.
If you start your application and navigate to http://0.0.0.0:5000/feeds/blog, the rss.xml file will be displayed in the browser.
Summary
Congratulations, you have made it through the whole series! In the last article of the series, you learned how to setup a template for a feed, how to integrate it into the pipeline as well as how to generate additional feeds for other categories. Furthermore, you extended your routing file to deliver the feeds to the user accessing a certain endpoint.
I hope you enjoyed reading the article. Make sure to share it with your friends and colleagues. If you have not already, consider following me on Twitter, where I am @DahlitzF or to subscribe to my newsletter so you will not miss any upcoming article. Stay curious and keep coding!